How do I use Meetings for appointment booking in HubSpot?
Learn how to use Meeting links in HubSpot to make meeting booking more efficient for you and your clients.
Learn how to use Meetings for appointment booking in HubSpot. To follow along, read the text below the video.

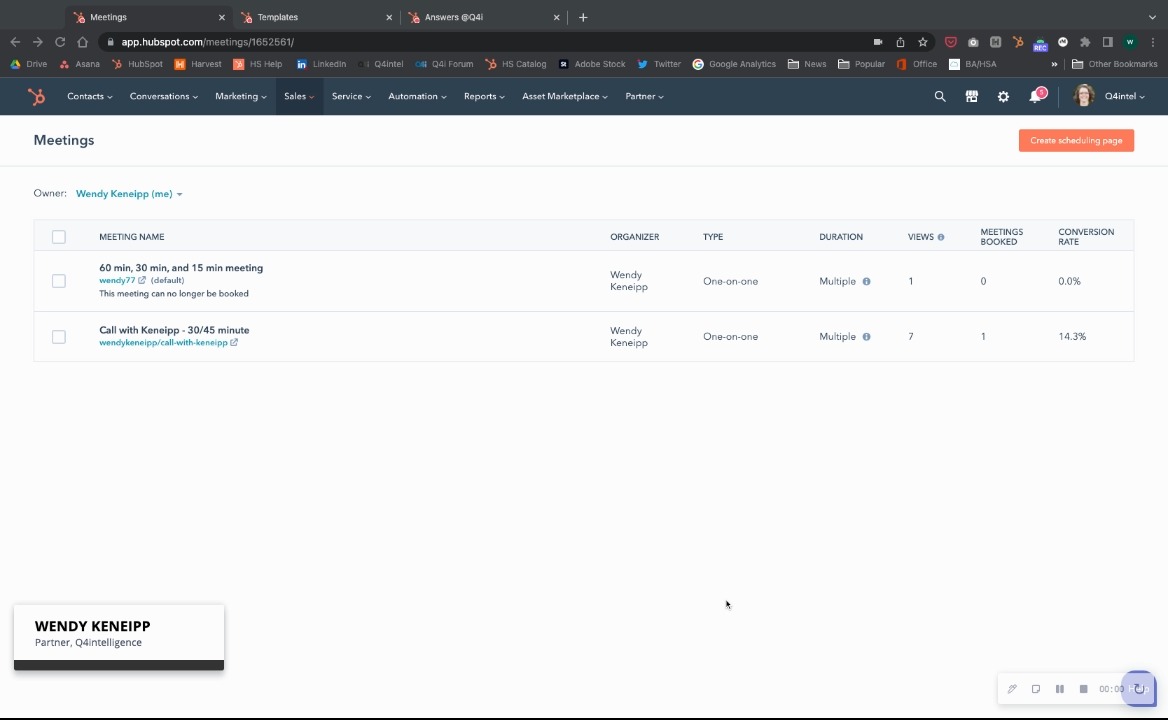
To set up meetings and appointments in HubSpot:
- Go to Sales > Meetings.
- Click on the orange button that says "Create scheduling page." Choose your meeting type (One-on-One, Group, or Round robin).
- Go to the Overview section and fill in the necessary boxes: Internal name (be specific), Title (add any personalization tokens as necessary), Location (Zoom, etc.), and Description. You can choose to have the "Cancel and reschedule" option turned on or off and choose the specific meeting type.
- Go to the Scheduling section and go to the Schedule tab. Choose the duration options (how long you want the meeting to be), your time zone, and your availability window.
- Go to the Form tab in the Scheduling section and choose the properties you want in your form.
- Go to the Confirmation tab in the Scheduling section and choose whether you want to display a default contact page or redirect to another page.
- Go to the Automation section and choose if you want to send a confirmation email and a pre-meeting reminder.
You can use meeting links in email templates or in your email signature.